The Clerk.io Extension with Shopware 6.
Data Sync Settings Overview
To access and modify your Shopware data settings, head over to my.clerk.io, click "Data" from the left-side menu, then scroll down to "Data Sync Settings".
Note: Information about the Shopware 6 Clerk.io extension, available through the Shopware admin portal, is later in this article.

Page Size & Default Image Size
-
Set the page size of your synced data with the dropdown, and set the default image size of your product images by entering the dimensions in the text box.
-
Larger page sizes may sync your data faster, while a smaller page size could help avoid host server timeout during sync.
-

Custom Attributes
If you have custom product attributes you'd like to include in your data, type in the attribute value names in the text box below Custom Attributes.

Include Out-of-stock Products
To include out-of-stock products in your synced data, choose "Yes" from the dropdown in this section.

Order History
To include retroactive orders with your data, choose how far back in time you'd like to sync with the dropdown under "Order History". Historical order data can help quickly improve your store's Recommendations and Search functionalities.

Sync Time
-
With the Sync Time dropdown, set the time of day when your webshop data syncs to Clerk.io (default is "when needed").

Using the Clerk.io Plugin in Shopware 6
Access the plugin by logging into your Shopware admin portal, then heading to Settings > System > Plugins, and choosing "Config" with the three dots next to the Clerk.io plugin

General
Enable and disable the Clerk.io plugin in the general section. Here, your public and private API keys are also available for reference.

Instant Search Settings:
-
After selecting "Enabled" from the dropdown to enable Live Search, you can select the number of search suggestions, categories, and content results to show within Live Search in addition to your product results.
-
You also have the option to choose what page types display as search results, for example "CMS Pages", "Blog Posts", or "All".
-
-

-
You can choose the position of the live search dropdown from your search box with Dropdown Positioning.
-
Provide the Content name for your live search next, which can be found next to data-template in your Live Search embed code within your my.clerk.io Content. This is likely live-search.
-
Last, provide your Live Search Input Selector and Form Selector, which can be found by inspecting your webshop's search box with your browser, and identifying the ID or class associated with its input and form. In this example, .searchinput as the input selector, and #search-form for the form.

Search Page & Faceted Search Settings
To enable your Clerk.io Search Page and Search Page Facets, select "Enabled" from the appropriate dropdown(s).
Search Page Content:
-
After selecting "Enabled", enter your Search Page Content name, which matches the data-template field found in the embed code of your Content in my.clerk.io. In this example, search-page.
.

Note: You are now able to call the data for categories and pages in your Search page in the same way you would in your Live search, giving you a larger range of information to engage your customers with. For more information you can check here.
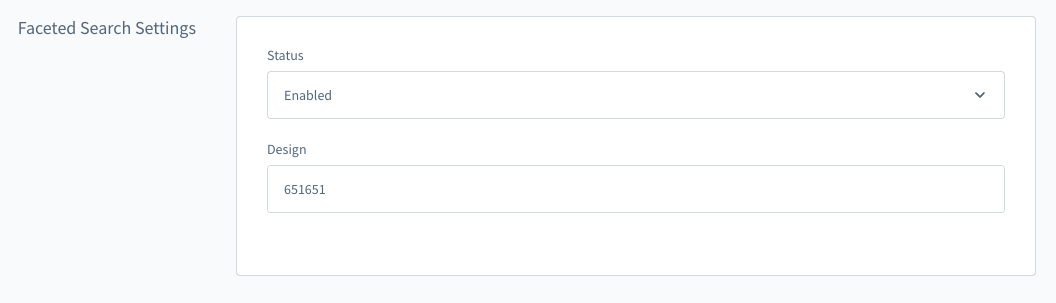
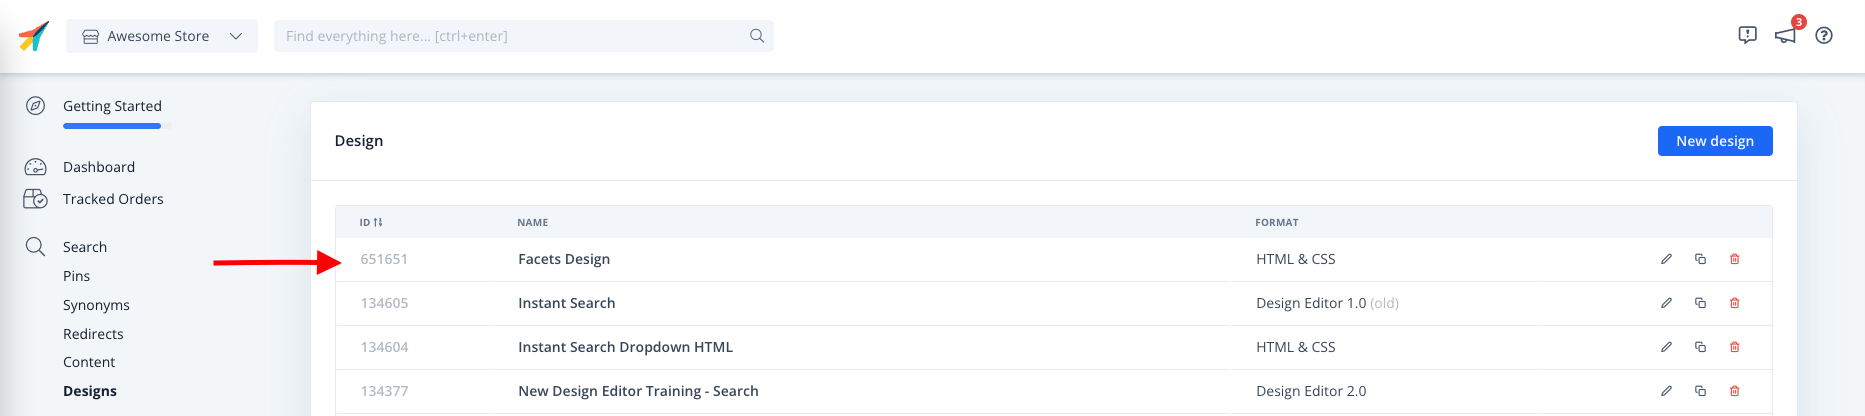
Customising Your Search Page Facets
- Clerk.io allows you to style your search page facets from within the design template. and you can display this by referencing it with the design ID field.
Product & Category Page Settings
Similar to Search, enable your Clerk.io Product and Category Page Settings by selecting "Enabled" from the appropriate dropdowns.
-
Just like the Search functionalities, you can find the content name next to data-template in the embed code within my.clerk.io > Recommendations > Content.
-
In this example, we've enabled both Product Page and Category Page settings, and included product-page-alternatives and product-page-others-also-bought on our Product Page, as well as category-page-popular as our Category Page content.
-

Cart Page, Exit Intent, & Powerstep / Add-to-Basket Settings
-
Set up your Cart Page, Exit Intent, and Powerstep/Add-to-Basket content just like the Product and Category Pages.
-
Set the appropriate page status to "Enabled", and include your Content from the relevant embed code in my.clerk.io > Recommendations > Content here.
-
 Did this answer your question?